The latest class action lawsuit to ding the finances of Big Tech is going to cost Google $23 million. The Google Referrer Header Settlement is upon us, and you may be able to get $7.70 out of it.
The suit claims that Google violated users’ privacy as they used Google’s search engine. Google may have revealed (without your explicit permission) the text of your search queries with the owners of the websites that you clicked in their search results. (Sorry for the word salad; it doesn’t get much simpler than that.) In any case, Google admits no wrongdoing. They’re settling and paying out this money to get things resolved.
Are you eligible for your share of the Google Referrer Header Settlement? The answer is Yes if you used Google Search and clicked on a result between 10/26/2006 and 10/30/2013. If you’re reading this, I bet you qualify.
The Claim Process
To start the claim process, go to this site and fill it out with your information and click the Submit button at the bottom. Check your email, and you should have a new message with a Class Member ID in it. Highlight and copy that code.
Next, visit this site and paste the ID into the first field. Login and fill out the information, choose a Payment Option, and “sign” at the bottom. All done!
Much like the plant-ID apps I’ve blogged about, there are plenty of free apps for identifying animals. There’s no need to crowdsource your answer from Facebook. Take a pic or recording and send it up to the experts. You can have an AI or website give you the answer immediately. And for free!
Got a snake in your garden? First, be careful! Take a pic and use these apps, only if you are at a safe distance from the creature:
Google has built in a very useful feature with their email service. In Gmail, you can configure something called “Check Mail from other Accounts”, and then Google will continually pull in the messages sent to another email address you control. You can do this with one or many other email addresses!
The Steps
Before you start, make sure you know your full email address and its login password.
Go to your Gmail at Gmail.com on a computer.
Click the cogwheel icon.
Click See All Settings.
Click Accounts and Import.
Scroll down to find the subsection labelled Check mail from other accounts.
Click Add an email account and fill in an email address. Click Next.
Choose Import mail from my other account (POP3) and click Next again.
Adjust the Username field to show the entire email address that you want Google to check.
Type in its password in the second field.
You may want to check the box next to Label incoming messages so that the incoming messages stand out from the ones sent directly to your Gmail.
Click Add Account to finish.
Disclaimers & Cautions
If that final setup screen did not fill in the POP server field automagically, you may have to figure out the correct server name to enter. You may also have to double-check the port number. That may mean calling your ISP or doing some research. Reach out to me if you need help with this!
This process can result in you importing a lot of email. If the other address has a lot of email in the inbox, you can expect a lot to arrive in your Gmail. But it shouldn’t hurt anything. At the worst, you’ll just have a lot of unneeded messages to delete.
This only brings messages. Contacts, Calendar entries or Notes are separate and would involve a different set of steps to bring over.
Google only checks the other email once an hour for new messages. That means that as people email your other address, they will arrive in your Gmail inbox, but there may be a time delay of up to one hour.
What Good Is All of This?
People most commonly use this feature when they are switching from an old email address to a new Gmail. It’s really helpful, because all of the old email dumps into the new Gmail inbox. Now you only have one inbox to check! And the label feature helps you determine who is still using the old address. You’ll know form that whom to contact, to let them know about your new address.
You might use this feature, even if you plan to keep the other email address, long-term. It may be too much work to abandon the other address, but it may still help to have everything arriving in one inbox.
Also, Gmail’s spam filter may be the best of its kind, at least amongst free offerings. Routing a spam-laden email address into your Gmail inbox can filter out a horde of nastiness.
Lastly, I often recommend this approach when mail forwarding is not working for someone. If you had set up mail forwarding in your other address and it wasn’t reliable, you can turn it off and try this method instead. Google will get the job done properly.
When using YouTube, please know that many videos allow for Closed Captions. Just click the CC button below the video to turn closed captions on or off.
If a YouTube video offers Closed Captions, then it also has a transcript. To see that, look a little further down and to the right of the CC button, for a 3-dots button. Click that and then click Transcript. You’ll see something like this to the right of the video:
This view is useful for scanning through and finding specific information in a video. You can click on any line of text to jump to that point in the video. But it may not be the easiest to use, if you want to read the entire transcript.
For that purpose, you could consider copying all of the text into a Word document:
Click the 3-dots button in the corner of the transcript.
Click Toggle Timestamps to hide those numbers.
Click and drag to highlight all of the transcript text you want.
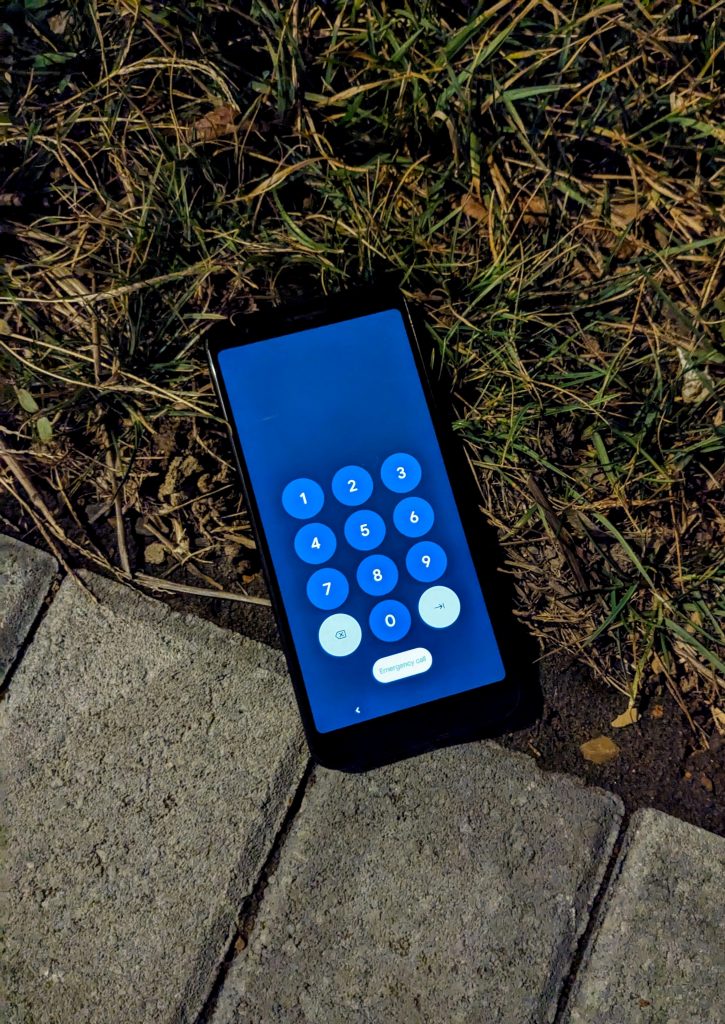
Everyday, I see this posted to social media: “I found someone’s phone, anyone know whose it is?” And it rarely works. It can’t hurt to crowdsource the request, but please know that you should first check the found phone for Emergency Info.
On an iPhone, trigger the Lock Screen and tap Emergency, then tap *Medical ID.
On an Android phone, trigger the Lock Screen and tap Emergency, then tap View emergency info.
The following screen may reveal one or more Emergency Contacts. Tap on an Emergency Contact to call them on the spot. You may be able to work with them to reunite the phone with its owner!
Add Emergency Info to Your Phone
Now that you know this tidbit, your next question is probably “How do I add Emergency Contacts to my phone?”
On an iPhone, find and open the Health app. Tap your picture to the upper-right and then tap Medical ID. Tap Get Started, and fill out your basic info. Scroll down to find the Emergency Contacts section.
On an Android phone, find and open the Safety app. Sign in if prompted and then fill out your basic info. Scroll down to find the Emergency Contacts section.
Add at least one person as an Emergency Contact, and now they can be dialed from your phone, even when it is lost and locked. Note: you can only add them if they are in your normal Contacts list.
As you venture into this part of your phone, you may find a wealth of other safety features. Some phones may offer Car Crash Detection, Emergency SOS and the ability to record and store a video. Explore and learn about them, and activate any others you think are a good idea. Semper Paratus!
Miscellany
If you’ve lost your phone, I’ve already blogged about how to track it down. Make sure to use those methods before you report the phone as lost and disable the SIM.
If you have found someone’s phone, but cannot determine the owner, then you’ll have to figure out what to do with it. Use your best judgment and factor in these items:
Apple does not typically assist with lost iPhones.
Keep the phone on and charged, if possible. The owner may call at any moment!
Turning the phone into the local police is a solid option.
Turning the phone over to a storefront might be helpful, depending on the circumstances. A phone found in a dressing room should go to the front sales desk. A phone found in a strip mall parking lot? Surrendering it to the police may be a better idea.
If you can tell what cellular provider services the phone, then you might be able to take it to the appropriate cellular storefront. T-Mobile definitely welcomes you to bring in a found phone. Others may help as well, give them a call before you make the trip.
Wondering if that volunteer plant in your garden is a weed or not? Curious about that gorgeous tree at the park? Need to know if you’re looking at some Virginia Creeper or Poison Sumac? I know there’s some of you who won’t rest until you know the exact name of the mystery plant you’ve just spotted. And while it’s so easy to jump on social media to ask, it’s often easier and quicker to use free apps for identifying plants.
Powered by AI and plant photography catalogs, these free apps can identify plants for you immediately! Take a picture of a plant using the app, and you’ll get detailed info on the spot. There are many such apps, and here a few reputable ones:
Plant Net Plant Identification, for Android and iOS
A few months ago, Google rolled out a new look for their Gmail website. It’s very pretty and everyone should have it by now.
Except, that didn’t happen, some people missed out. If you didn’t get this option, it’s probably because Google’s Chat feature was turned off. That causes this update to hide and never offer itself to you. Here’s how to turn that on:
Go to Gmail.com in your computer’s browser.
Click the cogwheel icon and click See All Settings.
Click Chat and Meet, click the bubble next to Google Chat, and click Save.
This should cause Gmail to refresh and reload. Now, when you click that same cogwheel, you’ll now see an option to “Try out the new Gmail view”. Give it a whirl, and if you need to switch back to the classic mode, just return the to cogwheel for that option.
There are always new mobile apps for you to discover, and it looks like NewProfilePic is this month’s all-star. This freebie, available through the Google Play Store and the Apple App Store, will transform a selfie photo into something stylized and eye-catching.
All you have to do is upload any photo file((of a single, close-up of a human face. Sorry, no pets!)) you have access to from your mobile device, and dodge a few pop-up ads along the way. The app does the rest, giving you a few different photo filters to try out. And they claim you can check back each week for new filters and tweaks.
As this app took off in popularity, some websites started sounding an alarm about its safety. Claims of data-sharing with Russia are being passed around, but I don’t see any truth to that. It looks to me like these rumors are not based on hard facts, and only being reported on clickbait and junk news sites (nothing mainstream).
In other words, whatever info-collection this app is doing, it’s certainly less invasive than, say, Facebook or Google. If you want to try out this app, feel free and have fun!
Here are options for dealing with spam received via text message:
Forward the Message to SPAM
When you get a spam text, forward it to 7726 (SPAM). This helps your carrier know about what spam is spreading where, and they’ll study the trends to prevent more spam from reaching you.
To forward a message on Apple devices, consider the section at this page titled “Forward older text messages.”
For Android devices, try these steps to forward a message any spam text to 7726.
Block the Sender
Most phones allow you to block a specific number from sending you texts. So when that annoying spam message arrives, block the sender’s number.
Note: If a spammer is spoofing your number, so that the text looks like it is coming from you, don’t block it. Just forward it to SPAM as described above, and contact your provider if it keeps happening.
Contact Your Provider
Each cellular provider offers different free tools for blocking unwanted calls and texts. If you are receiving a high level of spam messages, reach out to them. Ask them to review your account and phone settings, to be sure that all possible features are enabled, to block the maximum amount.
Report Spam to the Government
You are welcome to report unwanted communication (calls OR texts) to the FCC and the FTC. The DoNotCall Registry also wants your reports of spam.
Caveats
When acting on a spam text (to block it), take care to not tap on any attached files or links.
Do not reply to any spam text with any complaints or commentary. Do not try to unsubscribe, as this may create more spam for you!
Most iPhones have a largely unknown feature called Back Tap. If you turn on this special ability, Back Tap will let you trigger an app or function when you tap the backof your iPhone. Back Tap can open Settings, or the Facebook app, or your Camera, whatever you yoke it to.
It’s like you have an invisible button back there that can do anything! Back Tap can be setup on any iPhone 8 and up that is running iOS 14 or newer. For detailed steps, check out thesearticles for how to set yours up.
First-time users of Back Tap are recommended to keep an eye on it for the first week or so, in case of accidental triggers. If you notice any misfires with Back Tap, you can modify the settings (Double or Triple Tap) or turn it off.
Android Phones
This feature is called Quick Tap on Android phones, but is not widely available yet. So far, it’s showing up only on select Google Pixel phones. Other manufacturers are slow to incorporate this into their phones, but you can always check your phone for this feature under: Settings -> System -> Gestures. If your phone supports Quick Tap, it will be at the top of the Gestures options list.
A warning: internet searches for “Android Quick Tap” will quickly reveal a workaround app called Tap Tap. BlueScreen Computer does not recommend this app. It does not come from the Google Play Store. It has not been vetted by Google. Installing Tap Tap requires you to hamstring & bypass your phone’s security. Please don’t risk it! If your Android phone doesn’t offer Quick Tap, you’re better off waiting to get it on a future phone.