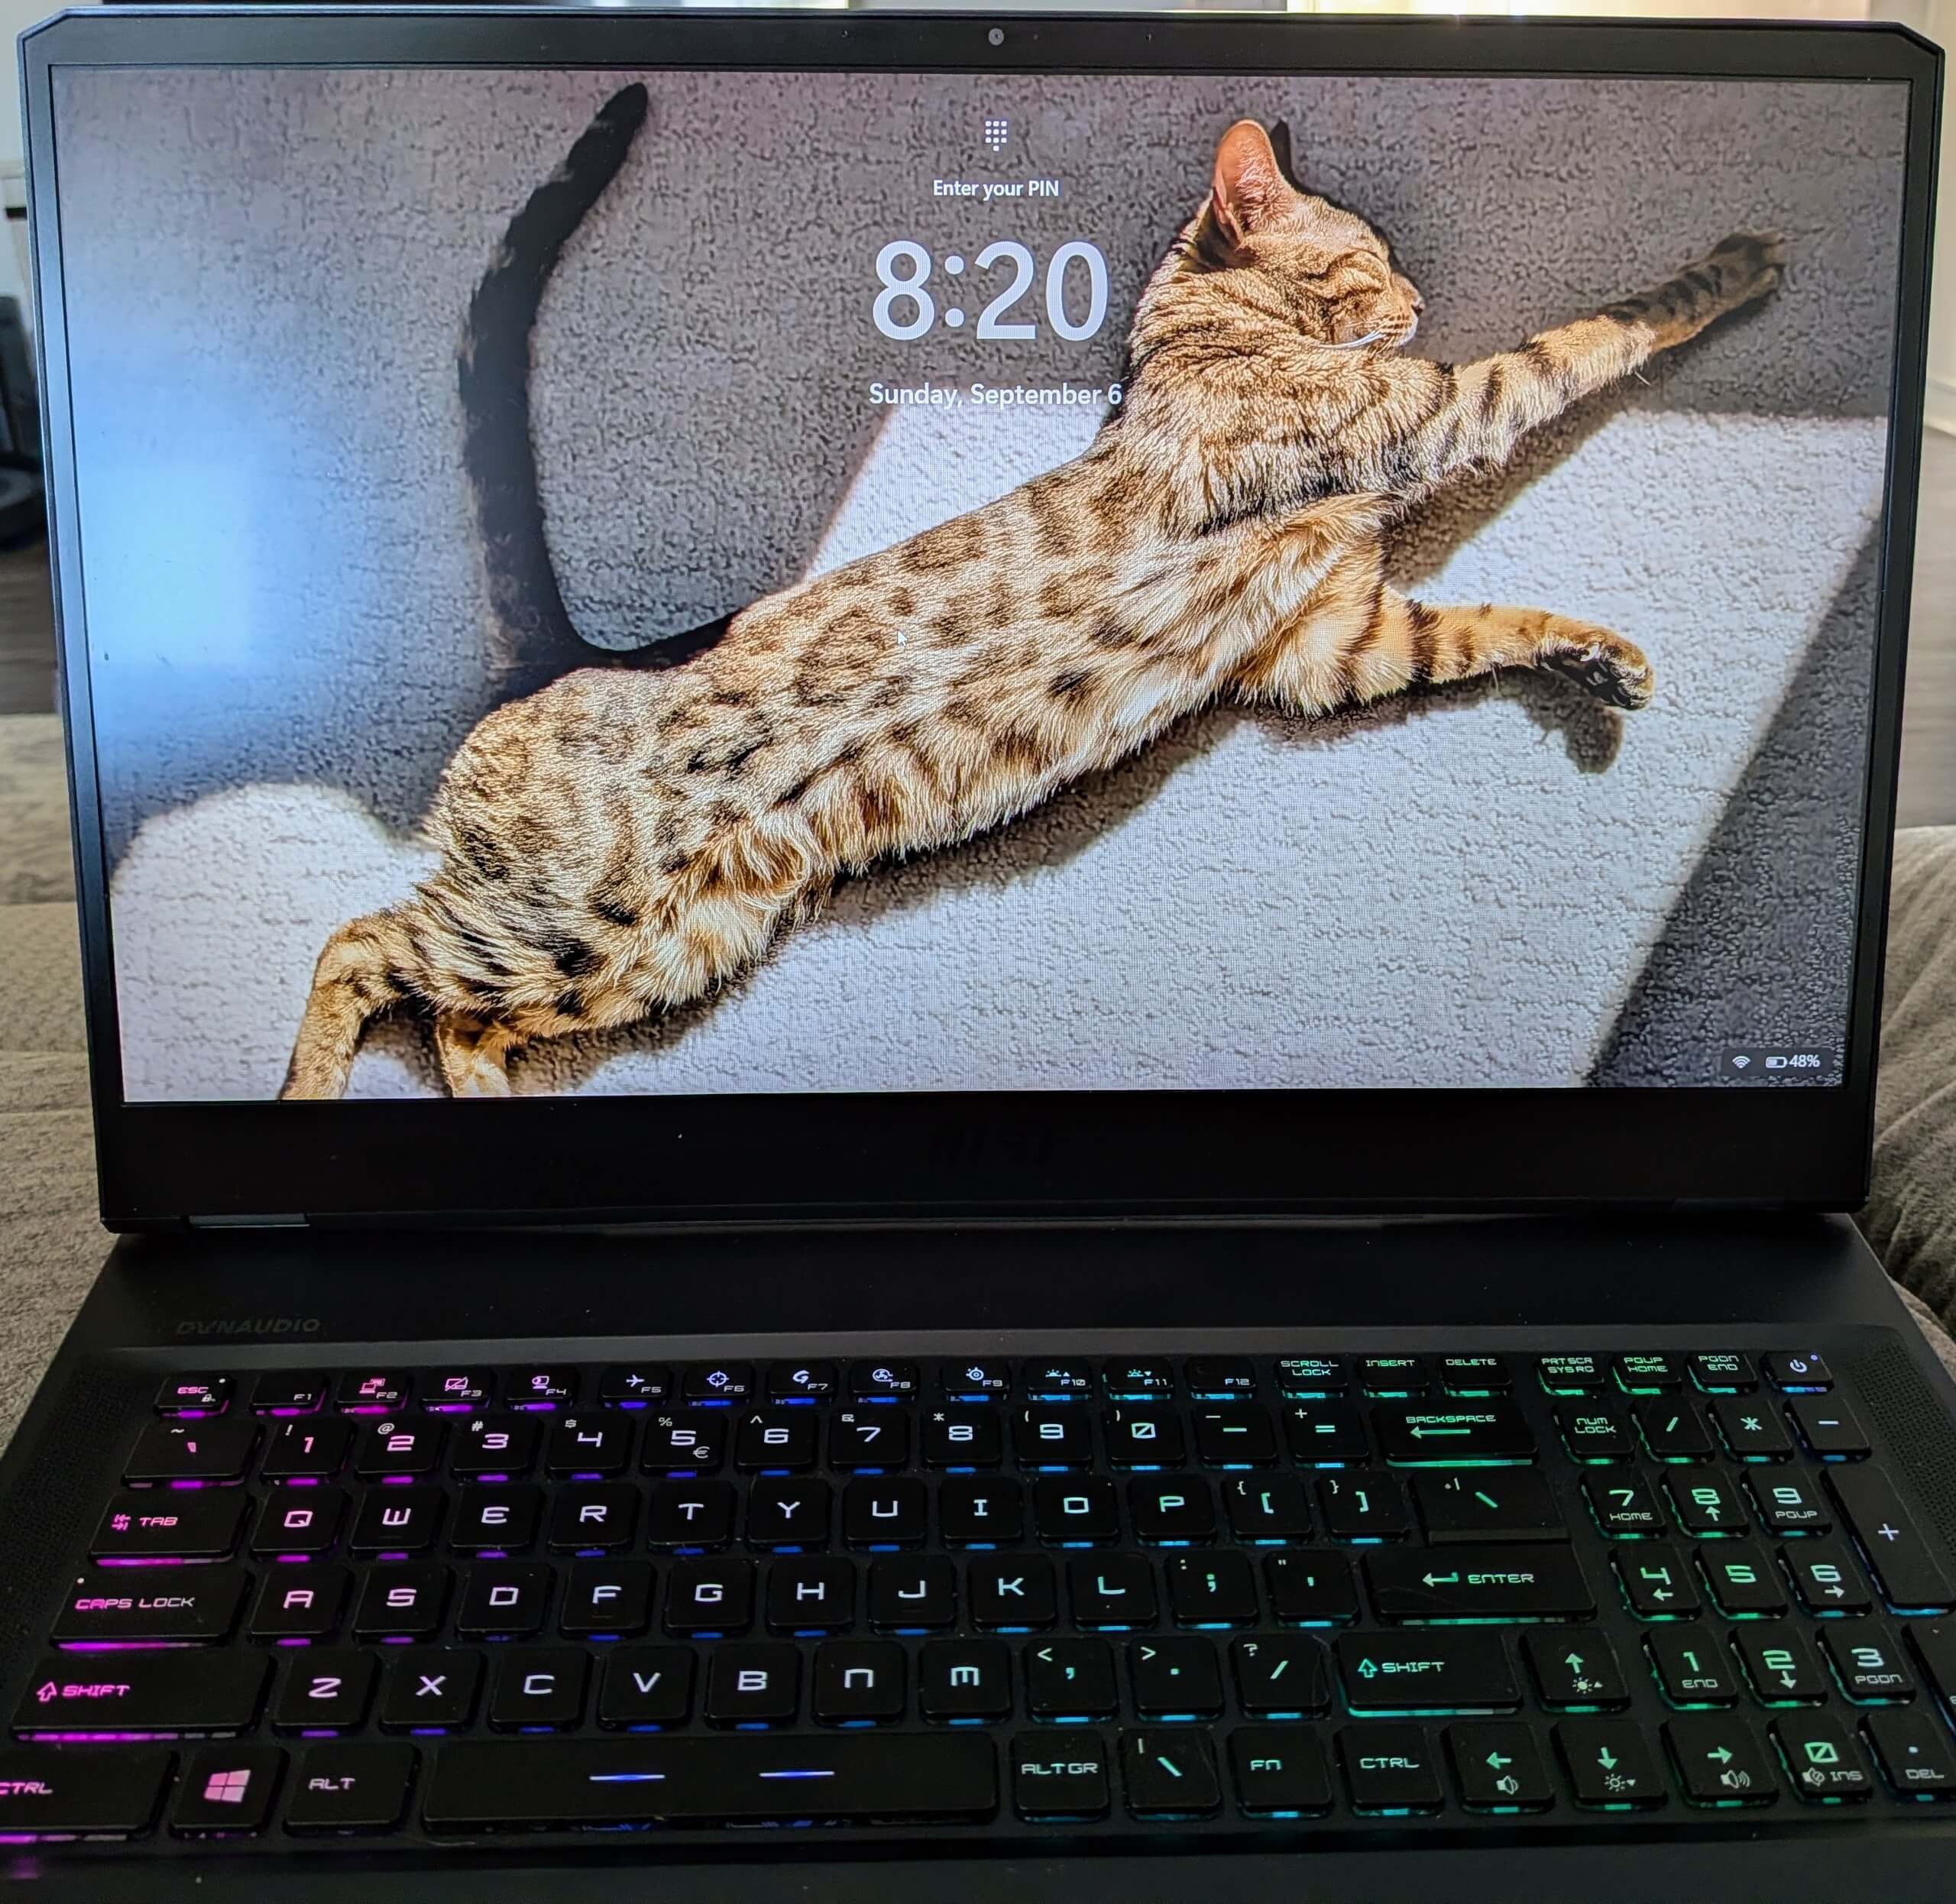
Microsoft supplies stunning photography to their Windows PCs, for use on the lock screen. And then they slap a bunch of busy distractions on top of it. Please know that you can unclutter the Windows Lock Screen, if you know where to look in the Settings Panel.
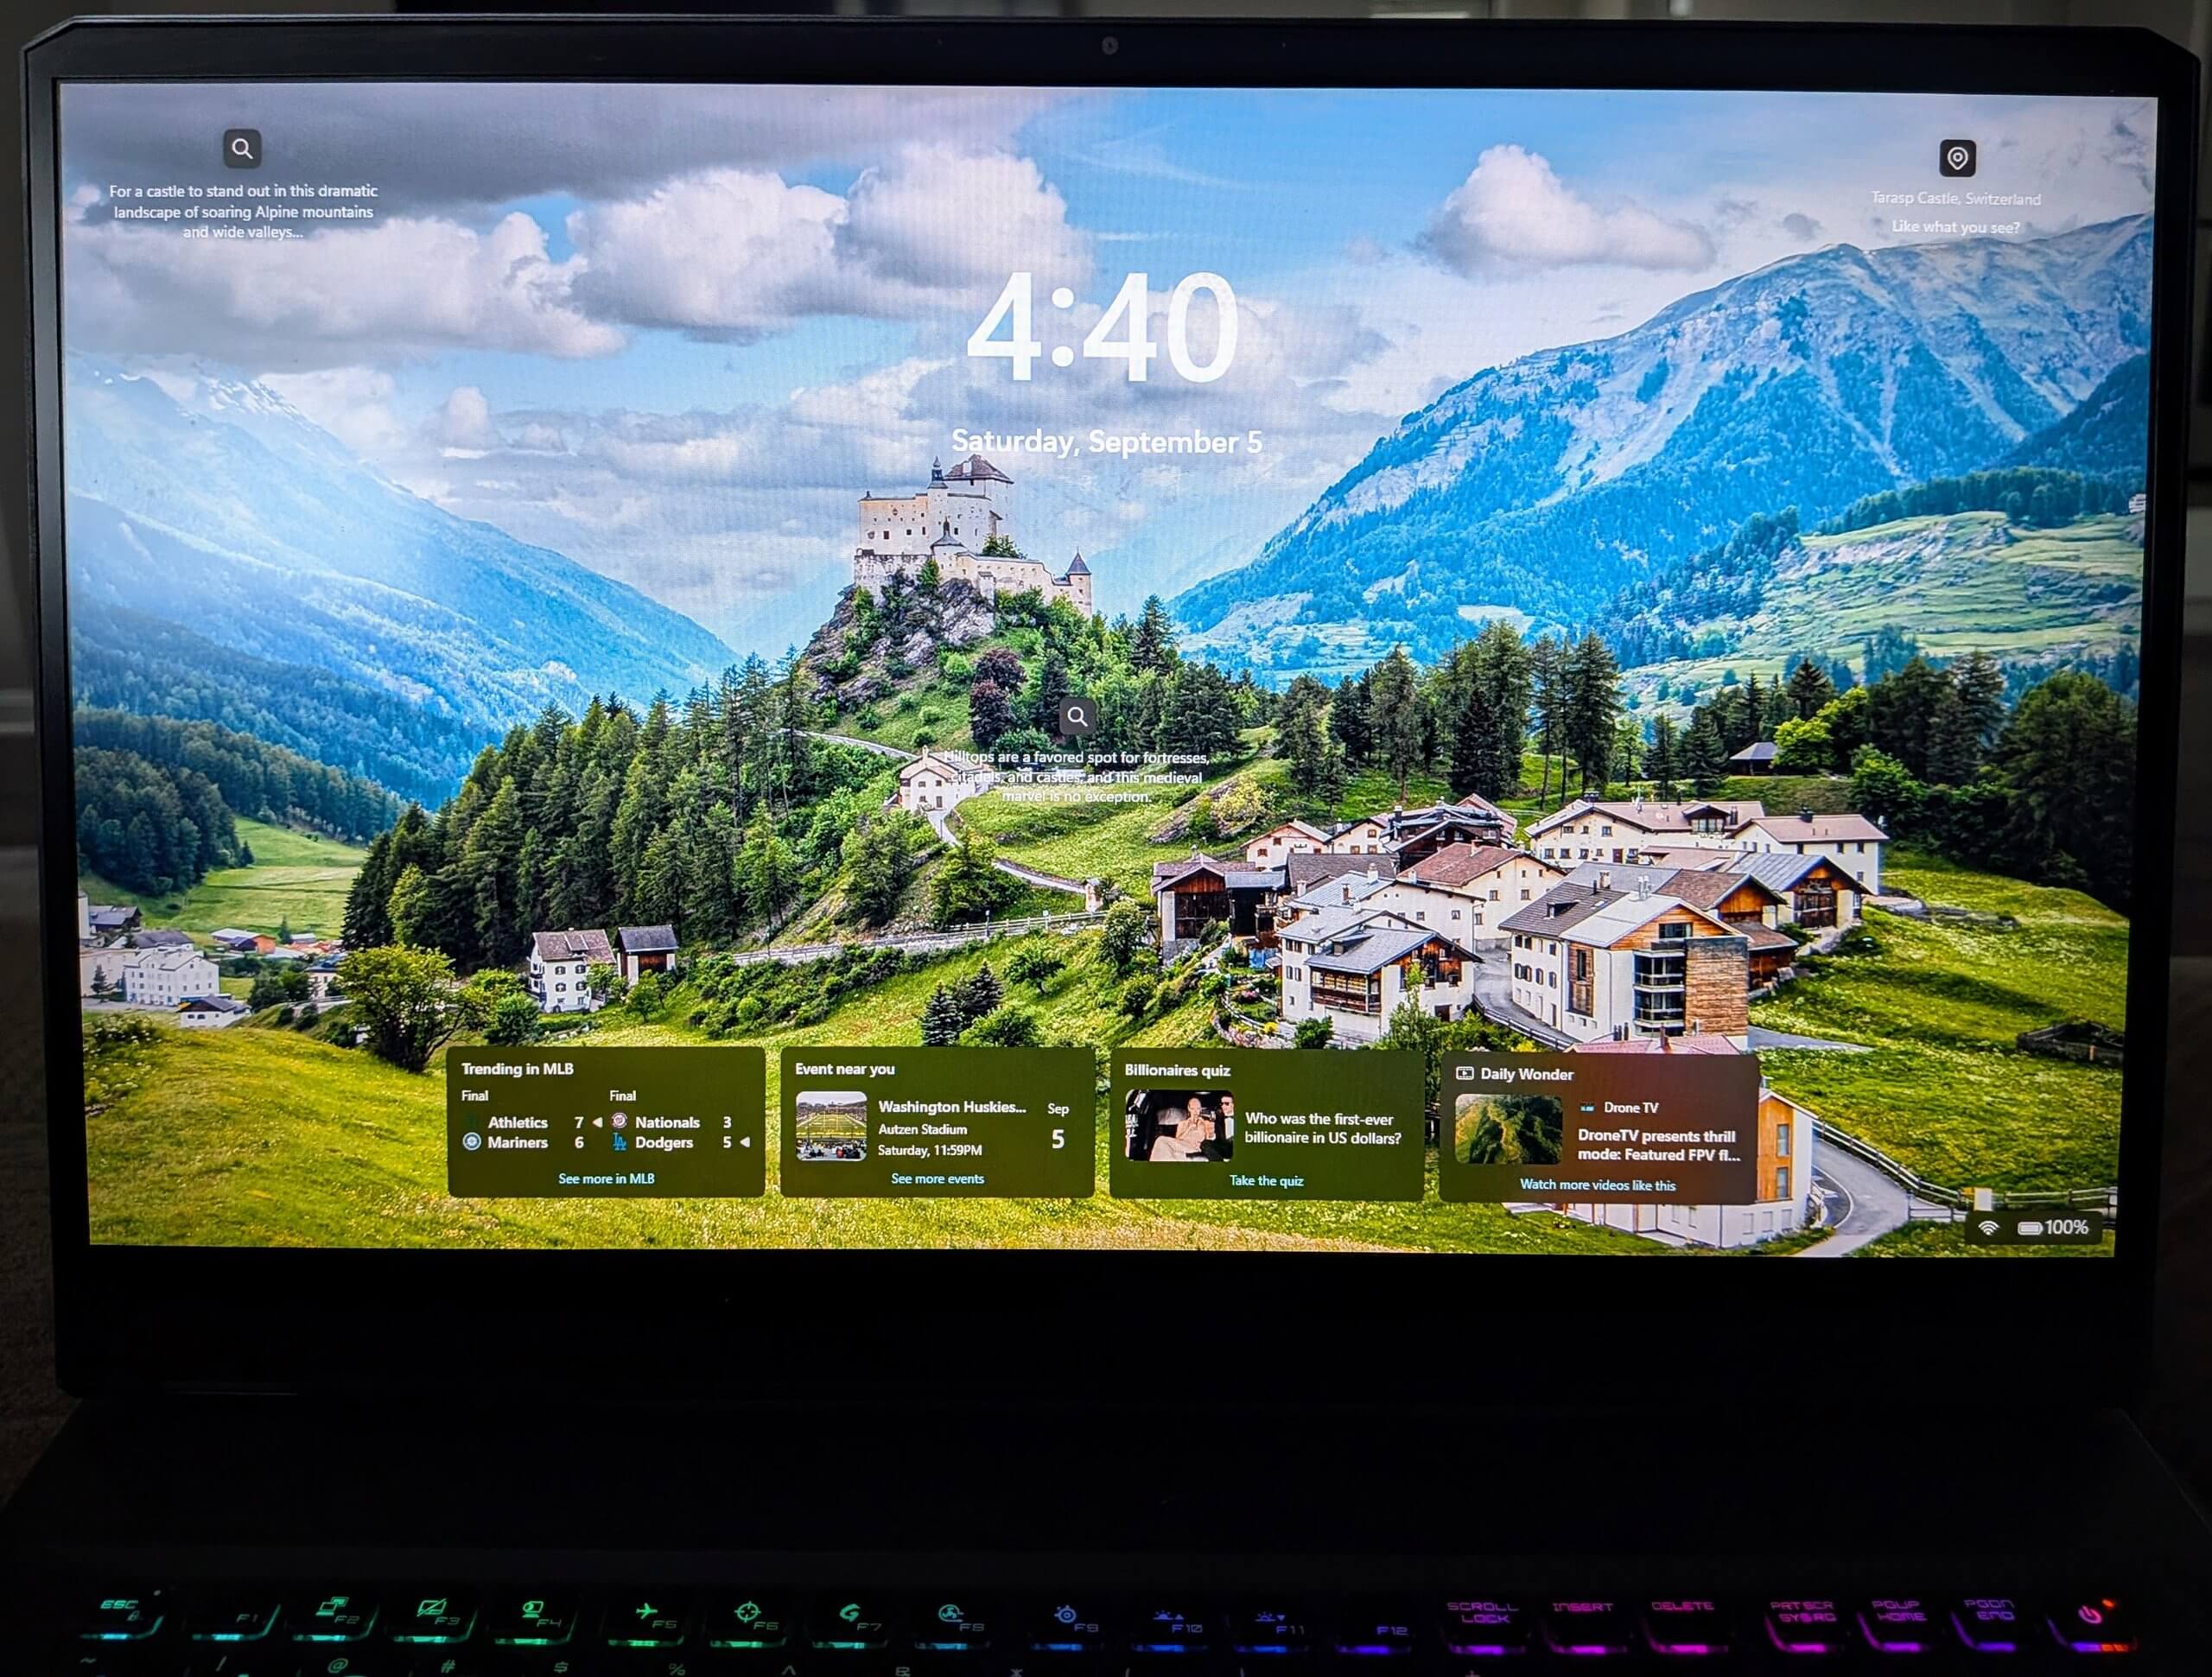
You’ll want to go to Start -> Settings -> Personalization -> Lock Screen. Once there, start by changing the “Lock Screen Status” drop-down menu to None. That will remove the four large Widget boxes from the bottom of the lock screen.
You can press WIN + L to lock your screen, to check the results. Or click Start -> Power icon -> Lock.
But we can go further, to eliminate those hovering magnifying glasses and white text ghosts. I find those distracting, as well, and some people accidentally click them while logging in. That causes unwanted Edge windows to appear after you enter your PIN!
Back at that Lock Screen Panel, change the first drop-down menu across from “Personalize your lock screen”. You may select either “Picture” or “Slideshow”; the goal is to get away from “Windows Spotlight”. Customize either choice by selecting Microsoft’s art or your photo(s) to appear on the Lock Screen.
And before you leave this Panel, make sure to uncheck the box next to “Get fun facts, tips, tricks and more on your lock screen”. Spoiler alert: The “and more” is code for “advertisements”!
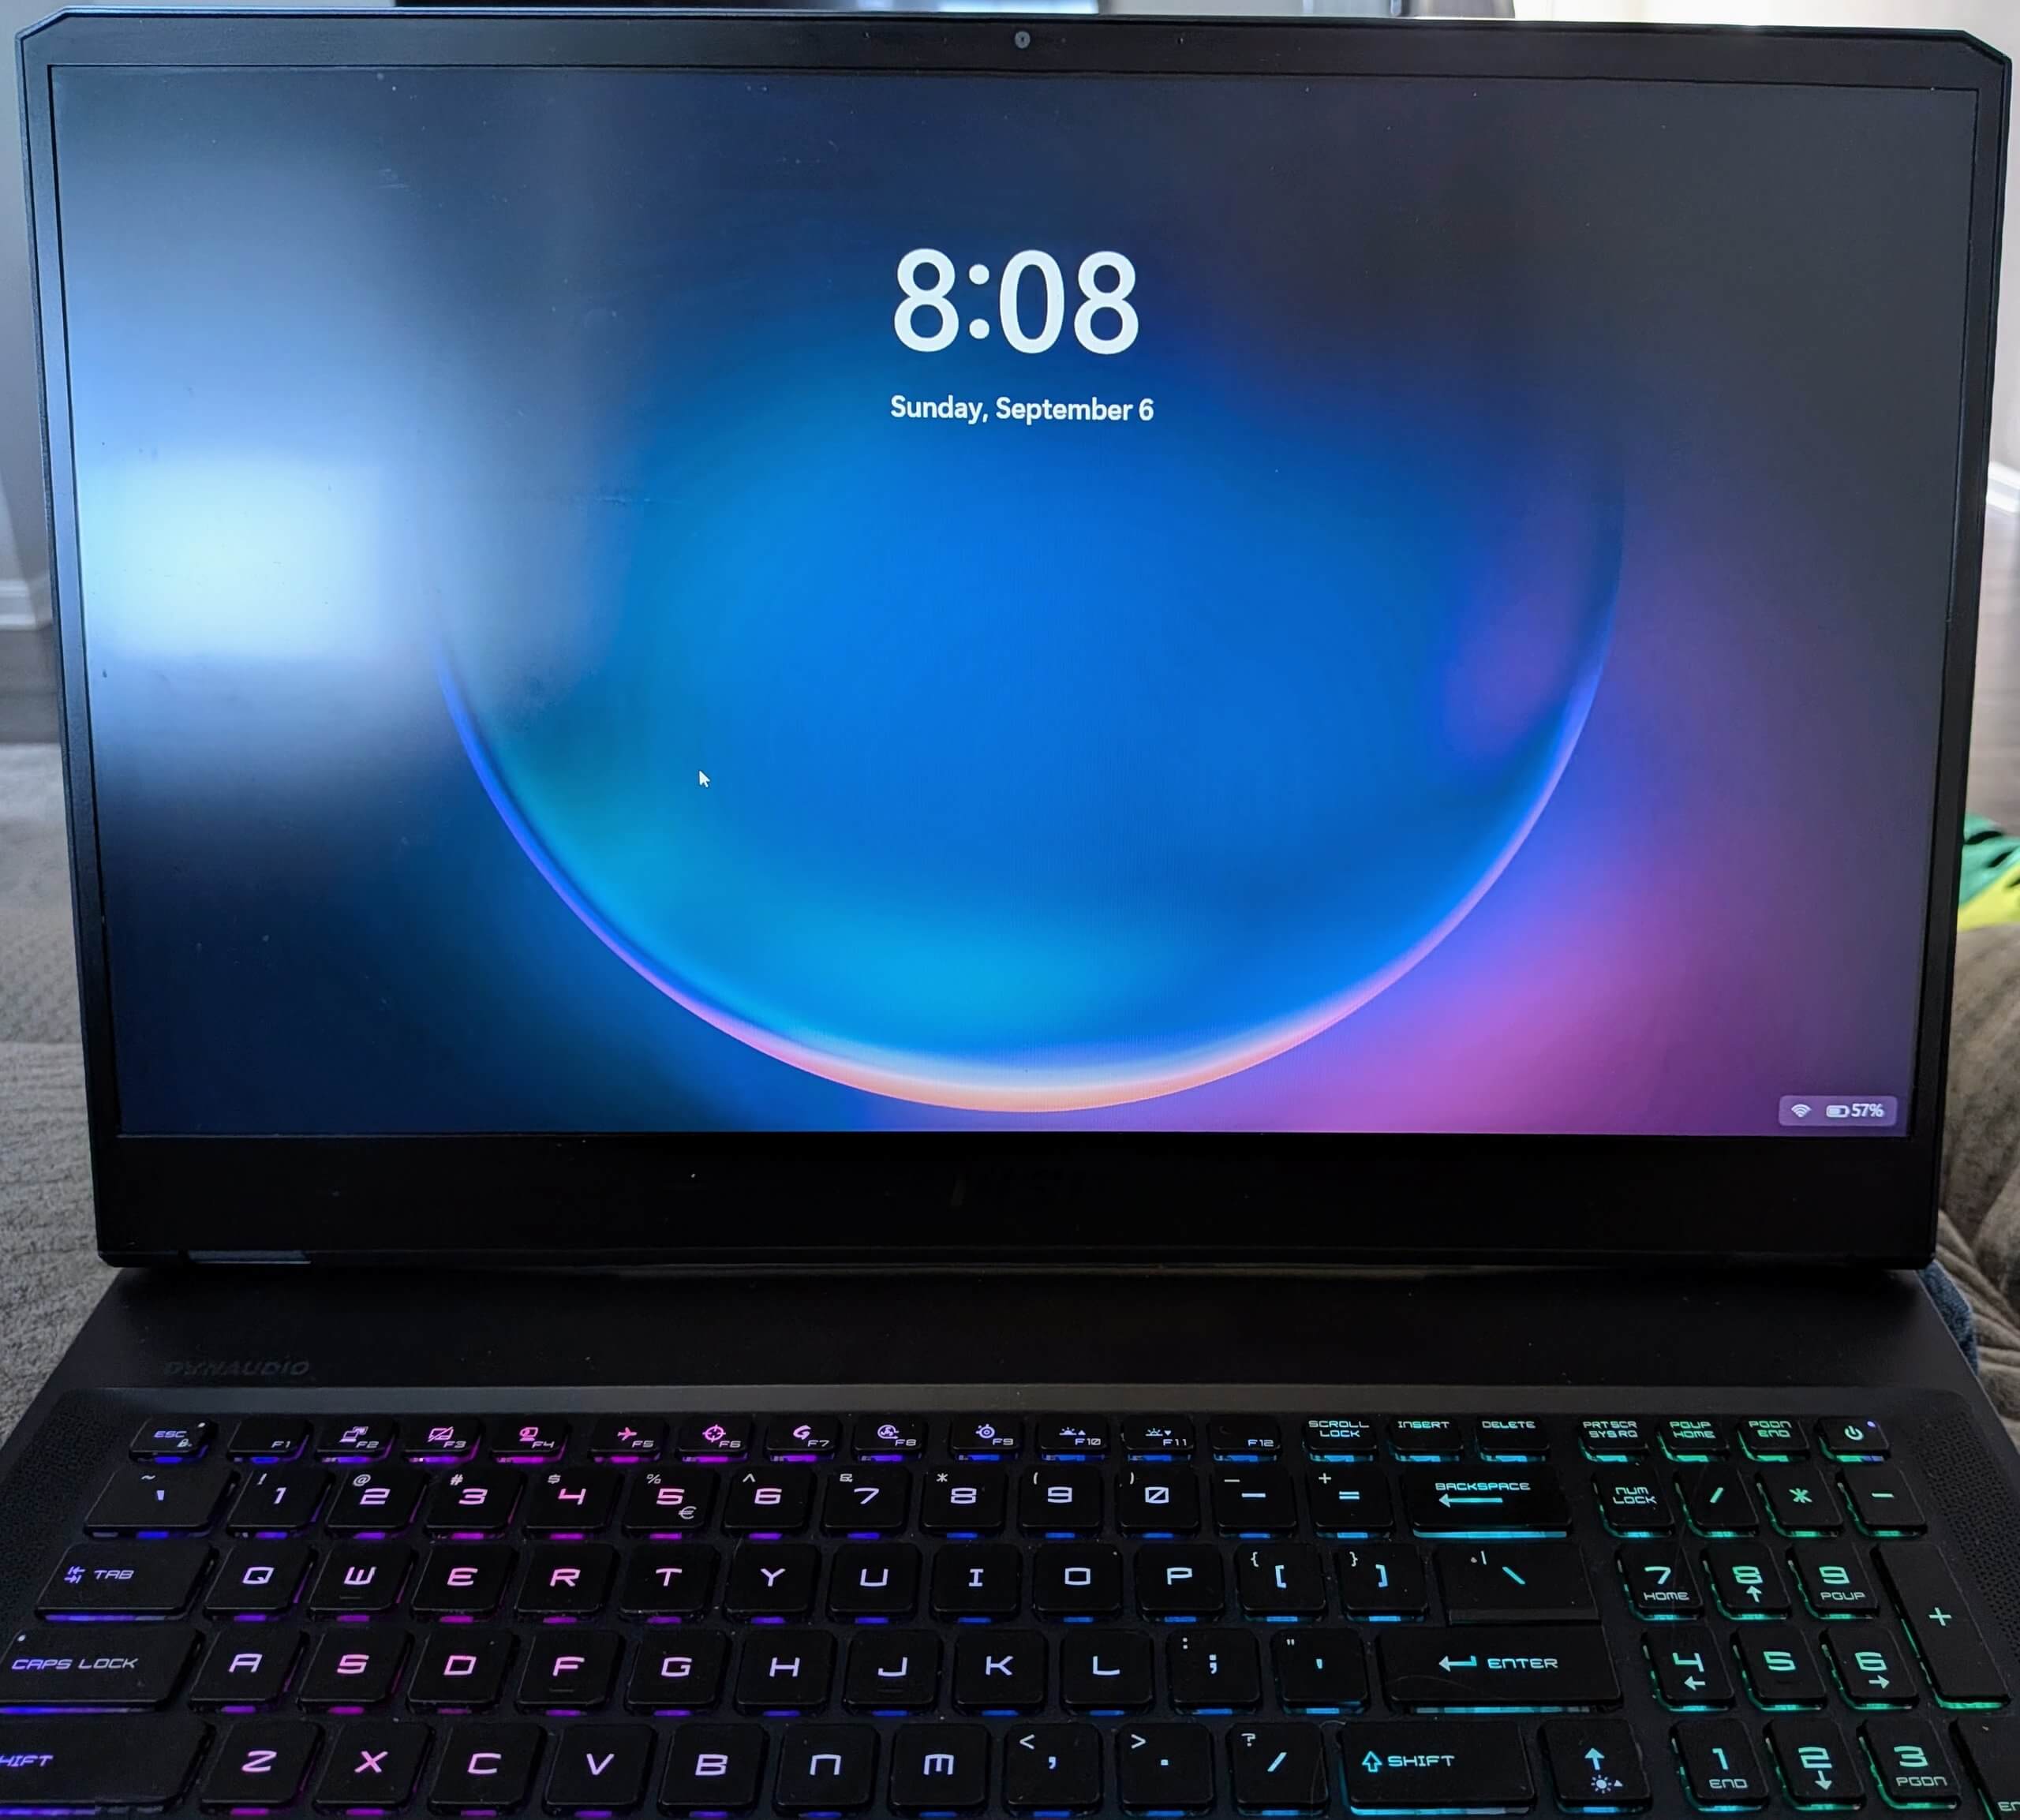
The time and date, as well as the Wi-Fi and battery icons to the lower-right, must remain, Microsoft gives no method for hiding those.