Windows 11 now has a built-in ability to display Live Captions for any audio you are playing. Whether it’s a YouTube video or Facebook Reel or Skype meeting, Win11 can show you captions for whatever speech is coming onto your computer. This can be extremely helpful for those who are hard of hearing, and also useful when you cannot use your computer’s audio.
Setting Up Captions for the First Time
Click the Start Button and open Settings. Go to Accessibility, then click Captions.
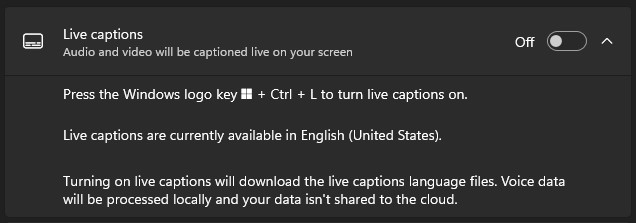
Across from Live captions, turn it On and then click the Download button to add this feature into Windows.

After the download completes, your computer will always be ready to offer you Captions.
How to Turn On Captions
You can always retrace your steps as above to turn on the Captions, but there are other, easier ways:
- Press Control + Win + L on your keyboard
- Go to Start -> All Apps -> Accessibility -> Live captions
ProTip: Right-click Live captions on your Start menu to be able to Pin it to the Start menu or Taskbar!
Using Live Captions
Windows 11’s captions are pretty straightforward, but notice the cogwheel icon to the right after you turn them on. You can click that cogwheel to customize the look and placement of the captions. There’s also an option in there to include the audio that your microphone captures, if you want the captions to include what you are saying (on a video call, for example).
Microsoft’s Live Captions are only available on the latest version of Windows 11. If you cannot find them on your Win11 machine, make sure to run Windows Updates until your system installs Version 22H2.